React Native & Expo: Full-Screen Image Viewer with Zoom Made Simple

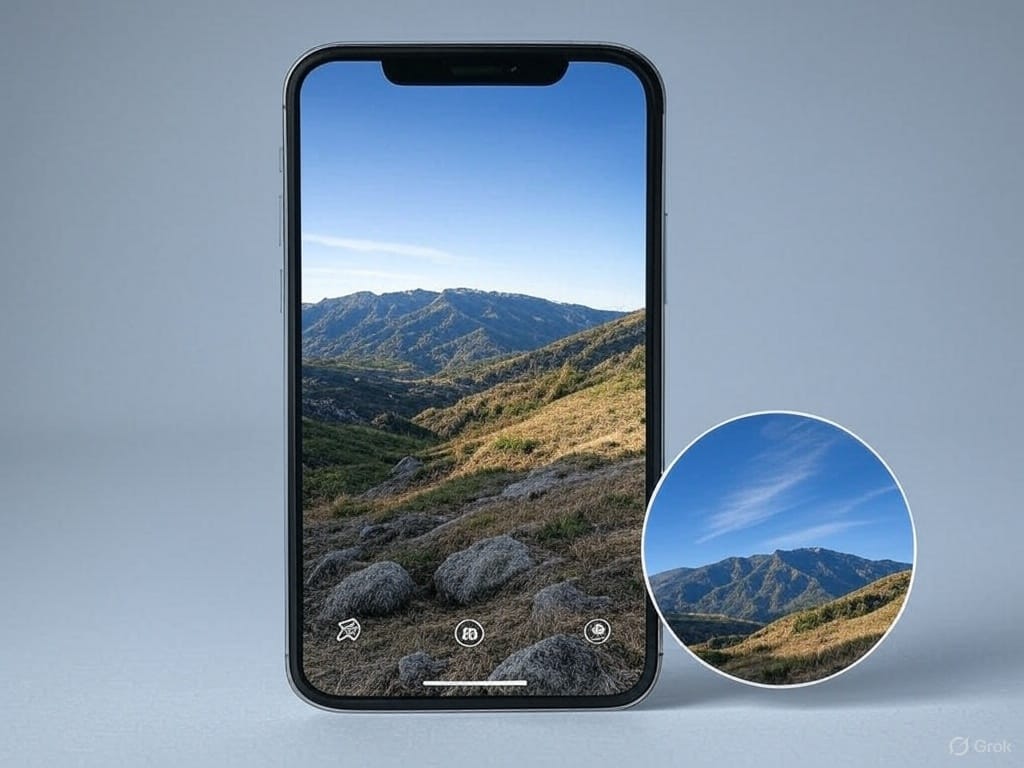
Have you ever worked with images in React Native? If so, you’ve likely encountered the need to add zoom functionality, a staple feature in mobile apps like Instagram, Facebook, and X. Zooming into images enhances the user experience, letting people inspect details up close. Over the years, React Native developers have created numerous libraries to tackle this challenge. After exploring many options, I’ve settled on a newer library that has become my go-to solution for zoomable images: @likashefqet/react-native-image-zoom. In this article, I’ll walk you through how to use it, including setup, basic implementation, and a full-screen image viewer with zoom capabilities. Here is an example of the implementation from my side project BanKan Board!
Getting Started with @likashefqet/react-native-image-zoom
First, let’s install the library. Open your terminal and run:
yarn add @likashefqet/react-native-image-zoomThis library depends on two additional packages: react-native-reanimated for smooth animations and react-native-gesture-handler for handling touch gestures. Install them with:
yarn add react-native-reanimated react-native-gesture-handlerIf you’re using Expo, these libraries work seamlessly with Expo’s managed workflow. For bare React Native projects, you’ll need to follow additional setup steps:
- React Native Reanimated: Add the Reanimated Babel plugin to your babel.config.js:
module.exports = {
  presets: ['module:metro-react-native-babel-preset'],
  plugins: ['react-native-reanimated/plugin'],
};- React Native Gesture Handler: Wrap your app with the GestureHandlerRootView component at the root level. Here’s how to do it in your App.tsx or equivalent entry file:
import { GestureHandlerRootView } from 'react-native-gesture-handler';
import { StyleSheet } from 'react-native';

export default function App() {
  return (
    <GestureHandlerRootView style={styles.root}>
      {/* Rest of your app */}
    </GestureHandlerRootView>
  );
}

const styles = StyleSheet.create({
  root: { flex: 1 },
});
This setup ensures that gesture handling works correctly across your app. With these dependencies in place, you’re ready to start zooming!
Basic Implementation
The @likashefqet/react-native-image-zoom library provides a Zoomable component that wraps your image, making it zoomable with pinch and double-tap gestures. I recommend using expo-image for its performance benefits, but the standard React Native Image component works too. Here’s a simple example:
import { Image } from 'expo-image';
import { Zoomable } from '@likashefqet/react-native-image-zoom';
import { StyleSheet, View } from 'react-native';

export default function ZoomableImage({ imageUri }) {
  return (
    <View style={styles.container}>
      <Zoomable isDoubleTapEnabled>
        <Image
          source={{ uri: imageUri }}
          contentFit="contain"
          style={styles.image}
        />
      </Zoomable>
    </View>
  );
}

const styles = StyleSheet.create({
  container: {
    flex: 1,
    justifyContent: 'center',
    alignItems: 'center',
  },
  image: {
    width: 200,
    height: 200,
  },
});
That’s it! The isDoubleTapEnabled prop adds double-tap zooming, and the image can now be pinched to zoom in or out. This implementation is lightweight, easy to add, and just as easy to remove if needed. But what if you want more, like a full-screen image viewer that appears when the user taps an image? Let’s build that next.
Full-Screen Image Viewer with Zoom
In many apps, tapping an image opens it in full screen with zoom functionality, an intuitive and engaging feature. To achieve this in React Native, we’ll create an ImageProvider that manages a full-screen overlay. The overlay will use Zoomable for zooming and React Native components for the UI. Here’s the implementation:
import React, {
  createContext,
  forwardRef,
  useContext,
  useImperativeHandle,
  useRef,
  useState,
} from 'react';
import { Dimensions, StyleSheet, TouchableOpacity, View } from 'react-native';
import { Image } from 'expo-image';
import { Zoomable } from '@likashefqet/react-native-image-zoom';

const ImageContext = createContext(null);

export default function ImageProvider({ children }) {
  const imageRef = useRef(null);

  const showImage = (imageUri) => {
    imageRef.current?.show(imageUri);
  };

  return (
    <ImageContext.Provider value={{ showImage }}>
      {children}
      <ImageView ref={imageRef} />
    </ImageContext.Provider>
  );
}

const ImageView = forwardRef((props, ref) => {
  const [show, setShow] = useState(false);
  const imageUriRef = useRef('');

  useImperativeHandle(ref, () => ({
    hide: () => {
      imageUriRef.current = '';
      setShow(false);
    },
    show: (uri = '') => {
      imageUriRef.current = uri;
      setShow(true);
    },
  }));

  if (!show) return null;

  const hide = () => {
    setShow(false);
    imageUriRef.current = '';
  };

  return (
    <View style={styles.overlayContainer}>
      <View style={styles.overlayBackground} />
      <View style={styles.overlayContent}>
        <TouchableOpacity style={styles.closeButton} onPress={hide}>
          <Image
            source={require('./assets/close-icon.png')} // Replace with your close icon
            style={styles.closeIcon}
          />
        </TouchableOpacity>
        <Zoomable isDoubleTapEnabled>
          <Image
            source={{ uri: imageUriRef.current }}
            contentFit="contain"
            style={styles.fullScreenImage}
          />
        </Zoomable>
      </View>
    </View>
  );
});

const styles = StyleSheet.create({
  overlayContainer: {
    position: 'absolute',
    top: 0,
    left: 0,
    right: 0,
    bottom: 0,
    zIndex: 1000000,
  },
  overlayBackground: {
    ...StyleSheet.absoluteFillObject,
    backgroundColor: 'rgba(90, 90, 90, 0.95)',
  },
  overlayContent: {
    flex: 1,
    marginHorizontal: 10,
    justifyContent: 'center',
    alignItems: 'center',
  },
  closeButton: {
    position: 'absolute',
    top: 60,
    right: 10,
    padding: 5,
    backgroundColor: '#007AFF',
    borderRadius: 20,
    zIndex: 100001,
  },
  closeIcon: {
    width: 24,
    height: 24,
    tintColor: '#FFFFFF',
  },
  fullScreenImage: {
    width: Dimensions.get('window').width,
    height: Dimensions.get('window').height,
  },
});

export function useImage() {
  const context = useContext(ImageContext);
  if (!context) {
    throw new Error('useImage must be used within an ImageProvider');
  }
  return context;
}
Wrapping Your App with ImageProvider
To make the full-screen viewer available throughout your app, wrap your root component with ImageProvider. If you’re using Expo Router, add it to your _layout.tsx:
import { GestureHandlerRootView } from 'react-native-gesture-handler';
import ImageProvider from './ImageProvider';

export default function Layout() {
  return (
    <GestureHandlerRootView style={{ flex: 1 }}>
      <ImageProvider>
        {/* Rest of your app */}
      </ImageProvider>
    </GestureHandlerRootView>
  );
}
For React Navigation or a bare React Native app, add it in App.tsx:
import { GestureHandlerRootView } from 'react-native-gesture-handler';
import ImageProvider from './ImageProvider';

export default function App() {
  return (
    <GestureHandlerRootView style={{ flex: 1 }}>
      <ImageProvider>
        {/* Rest of your app */}
      </ImageProvider>
    </GestureHandlerRootView>
  );
}
Using the Full-Screen Viewer in a Screen
Now, you can trigger the full-screen viewer from any component. Here’s an example:
import { Image } from 'expo-image';
import { TouchableOpacity, StyleSheet } from 'react-native';
import { useImage } from './ImageProvider';

export default function ImageScreen() {
  const { showImage } = useImage();
  const imageUri = 'https://example.com/sample-image.jpg';

  return (
    <TouchableOpacity onPress={() => showImage(imageUri)}>
      <Image
        source={{ uri: imageUri }}
        style={styles.thumbnail}
        contentFit="contain"
      />
    </TouchableOpacity>
  );
}

const styles = StyleSheet.create({
  thumbnail: {
    width: '100%',
    height: 200,
  },
});
When the user taps the thumbnail, the full-screen zoomable image appears. Tapping the close button dismisses it.
Conclusion
With @likashefqet/react-native-image-zoom, adding zoom functionality to images in React Native is a breeze. Whether you’re implementing a simple zoomable image or a full-screen viewer, this library delivers a smooth, reliable experience. The solution we’ve built here is flexible, reusable, and sticks to React Native’s core components, no extra UI frameworks required. I hope this guide inspires you to enhance your app’s image interactions. Give it a try, and let me know how it works for you!
Try BanKan Board — The Project Management App Made for Developers, by Developers
If you’re tired of complicated project management tools with story points, sprints, and endless processes, BanKan Board is here to simplify your workflow. Built with developers in mind, BanKan Board lets you manage your projects without the clutter.
Key Features:
- No complicated processes: Focus on what matters without the overhead of traditional project management systems.
- Claude AI Assistant: Get smart assistance to streamline your tasks and improve productivity.
- Free to Use: Start using it without any upfront cost.
- Premium Features: Upgrade to unlock advanced functionality tailored to your team’s needs.
Whether you’re building a side project, managing a team, or collaborating on open-source software, BanKan Board is designed to make your life easier. Try it today!